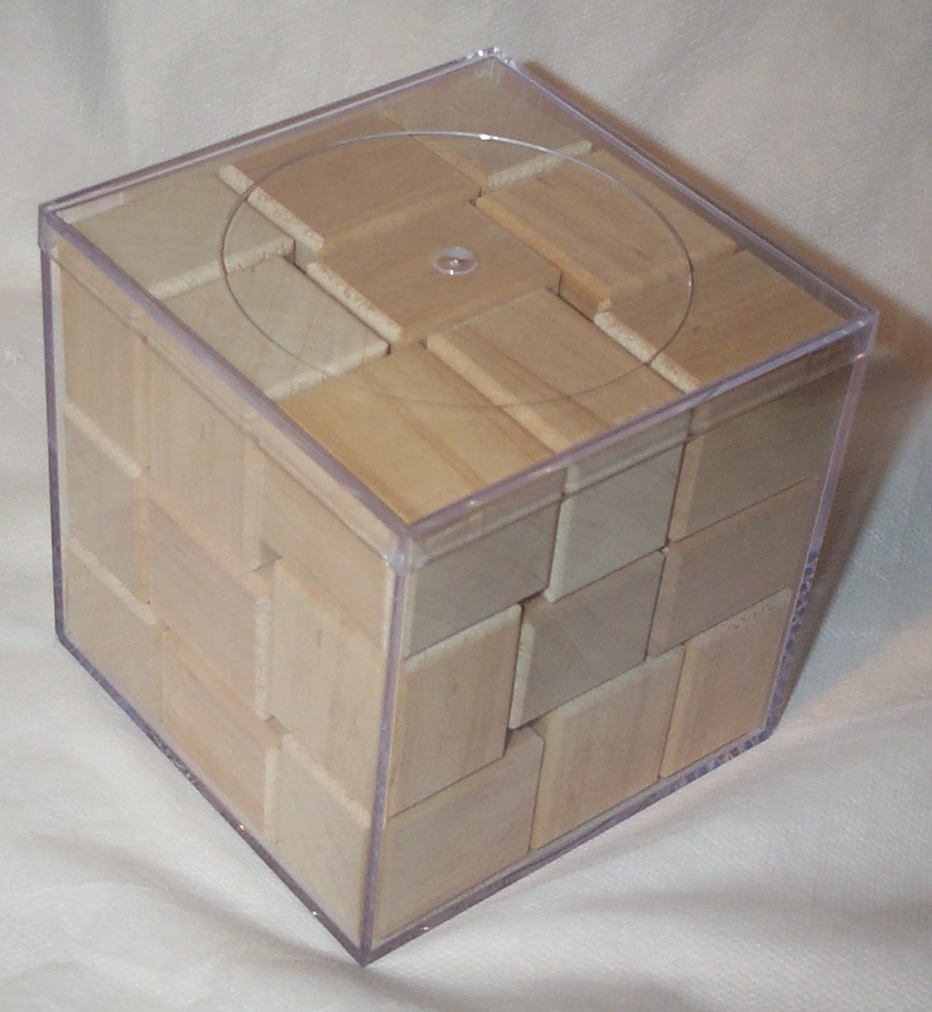
This toy pattern includes a multi-page PDF. Please be sure to download and print the attached toy pattern at the bottom of this page along with these instructions.
Tools
- Thickness planer
- Saw, such as table saw, miter saw, or hand saw
- Sand paper
- Router and chamfer or rounder-over bit (optional)
- Finishing oil (optional)
Material
- Hardwood lumber
Instructions
- First, determine the internal size of the box to hold the pieces. A clear cube box works nice. Organized Living has one with a 3.75” internal dimension. They also have a box, though it is longer on the height, of 2.15”.
- The dimension of each piece is A x B x C where A + B + C = Box Interior minus a smidge.
- Suggested dimensions: A = B-n and C = B+n, where n is ~B/10.
- For the 3.75” box, these could be dimensions of 1.10” x 1.25” x 1.40”.
- For the 2.15” box, these could be dimensions of 0.60” x 0.70” x 0.80”.
- Thickness plane a long strip of wood to dimensions of A x B. The strip length needs to be 27*C + 3 1⁄2” (for cut waste).
- Crosscut pieces to length C.
- Lightly sand all surfaces.
- Sand the edges or rout each piece with a small chamfer or round-over.
- Oil.
- Play!
