Bob Kastigar shared a plethora of ideas at the September Guild meeting which he considers fun and easy to complete in large quantities. He’s written up and shared with me descriptions and photos for each of these projects, so it is my great pleasure to share all of them with you:
Bracelets
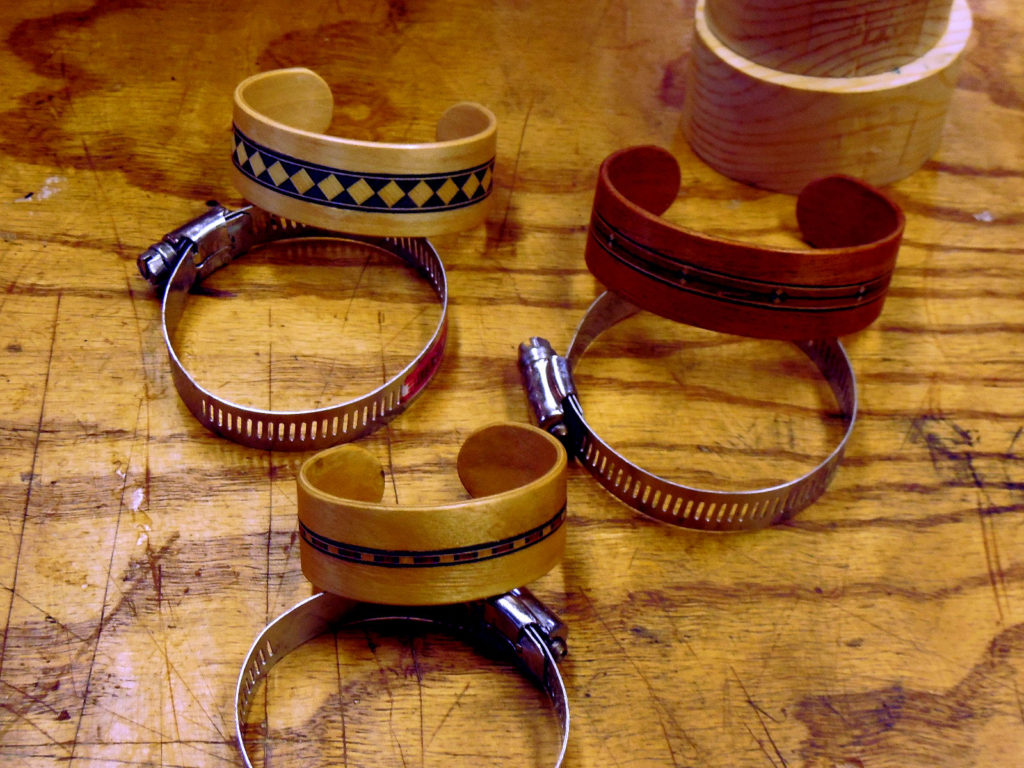
The bracelets were made using standard veneer material and standard inlay banding. There are 4 layers of wood. The innermost layer has the grain going the long way, the next layer has grain going the short way, the 3rd layer is the long way again. The top layer is 2 sections of the veneer, grain the long way, with a middle section made from inlay material. These were masking taped on what would be the top.
The form was lined by taping wax paper around the outer edge. The forms were made by the length and width and then smoothed with a French curve. I made 6, but you only need the sizes you will use.
| Size Designation | Dimensions | Length of Wood for this mold. |
| K- Kids | 1 ½ x 2 1/16 | 5 3/4 |
| S – Small | 1 5/8 x 2 1/4 | 6 1/4 |
| M – Medium | 1 7/8 x 2 3/8 | 6 1/2 |
| L – Large | 2 x 2 1/2 | 6 3/4 |
| XL – Extra Large | 2 1/8 x 2 5/8 | 7 1/4 |
| XXL – Bigger yet. | 2 3/8 x 3 | 7 3/4 |
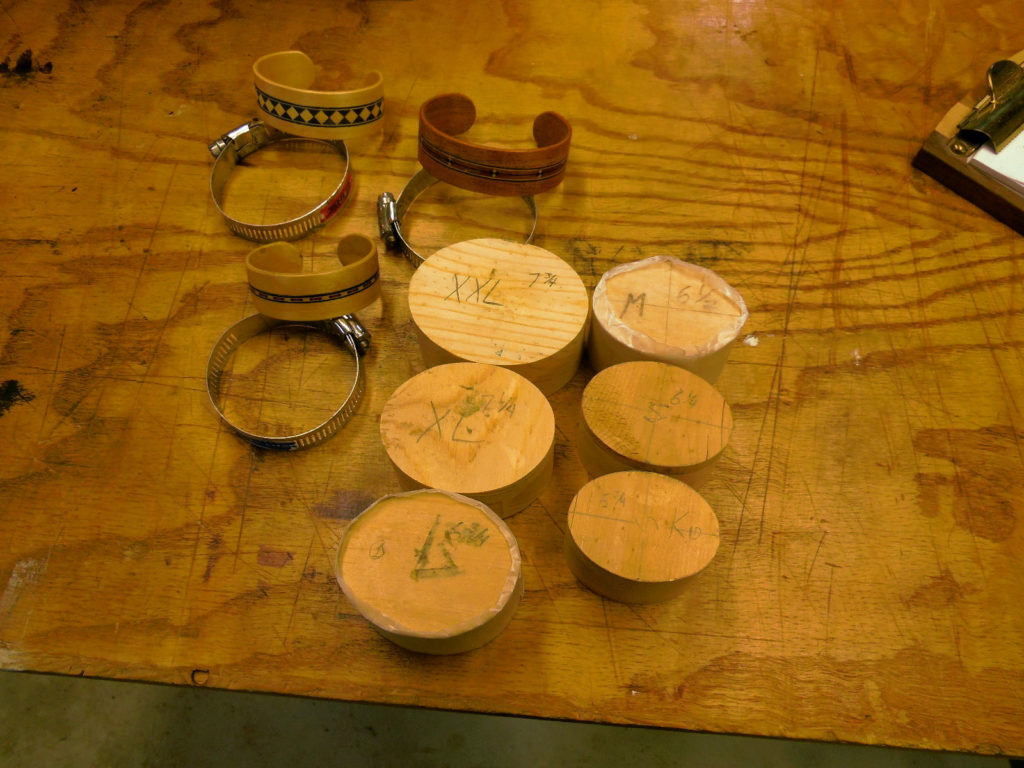
Add glue (Titebond 2 was used) in between layers and bend around the form. Clamp with 2 radiator hose clamps. This can be a messy process. Let dry overnight.
Remove clamps and slide bracelet off of mold (why the wax paper, it is now obvious). Remove the top layer of masking tape. Saw to make the opening and then sand smooth and to shape on all sides. I finished with poly and then a wax finish.
Stamp Boxes
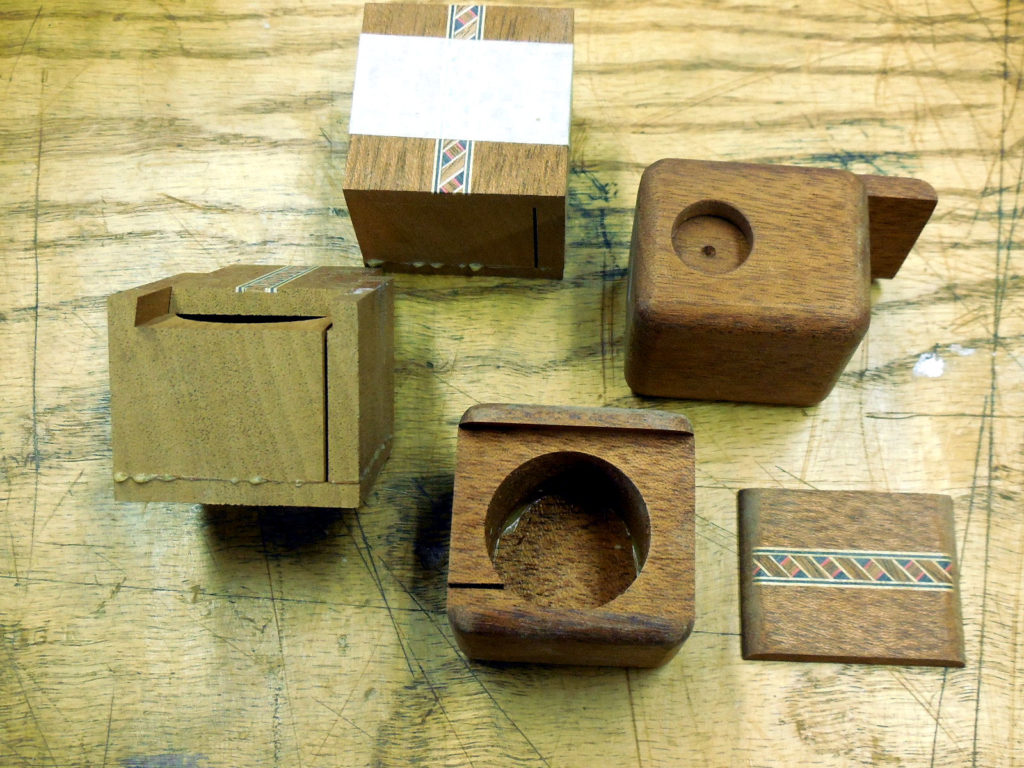
I started with a 1 7/8 inch thick board by 2 1/4 inches by about 16 inches of mahogany. I band sawed it into 3 layers, ½ inch off the top, and ¼ inch off the bottom (watch the grain, it will look like one board if the grains match). I planed these clean, making the center about 1 ½ inch thick. I routed out the dovetail from the middle part. Then routed the lid from the ½ inch top board to fit in the middle part. I sawed off the extra from the top slide lid leaving just the wedge seen in the picture. I taped all 3 layers together into the 16 inch block, and routed for the inlay. Glued the inlay in next. After it dried, I cut them into the 1 7/8 x 1 7/8 inch cubes seen left and top. Each of these cubes had a 1 ¼ diameter hole drilled through with a forstner bit. A band saw was used for the slot. A 9/16 forstner was used for a finger hole, right box. I glued the bottoms back on. I then sanded, routed them round and added a Danish oil finish.
These were made to fit a roll of stamps.
Coasters
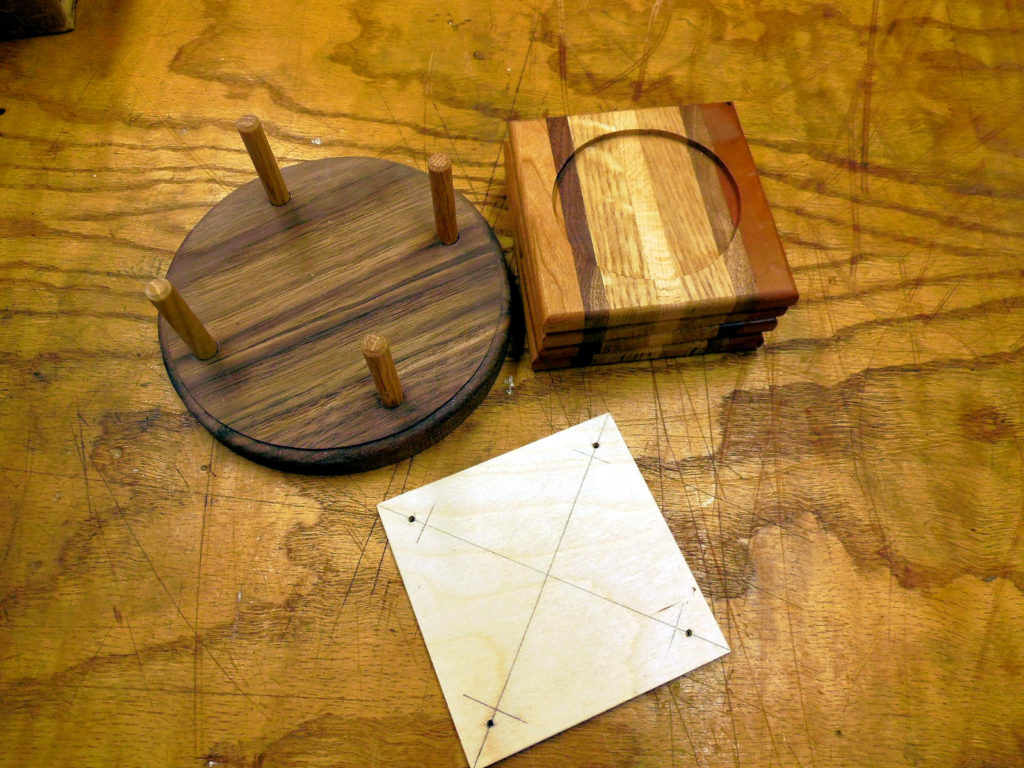
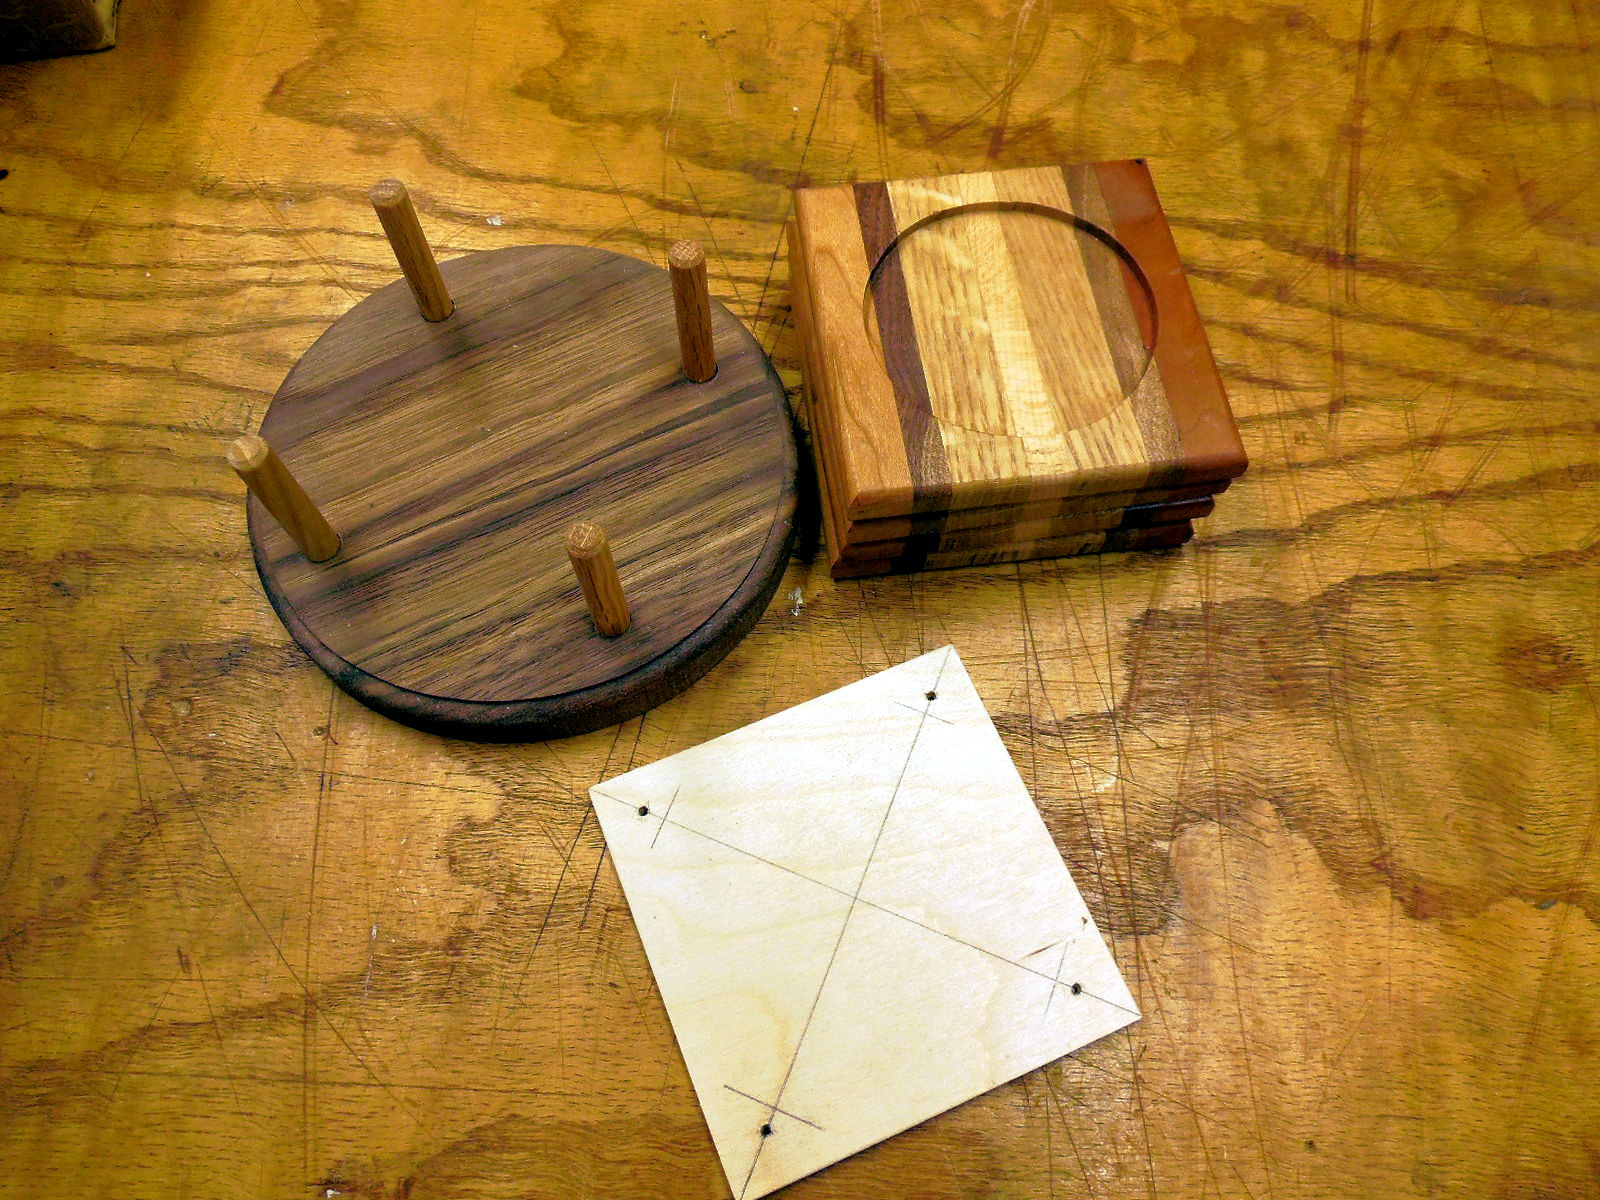
The coasters are again a glue up that was resawn to get the striped look. They are 4 x 4 x ½ inches.
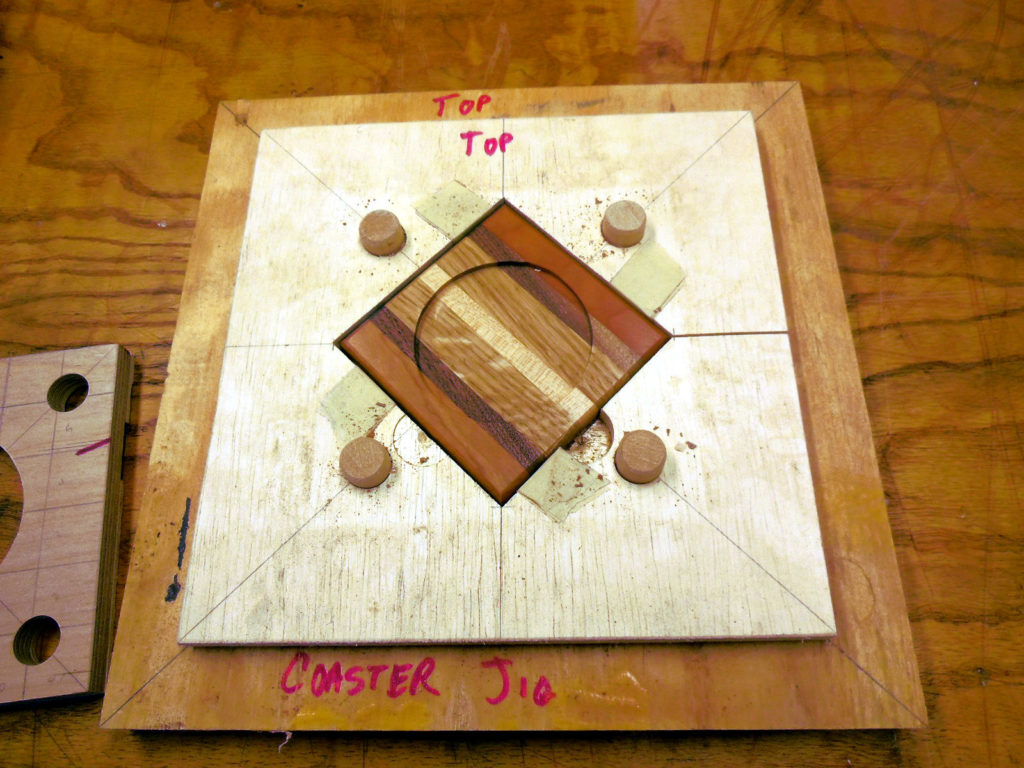
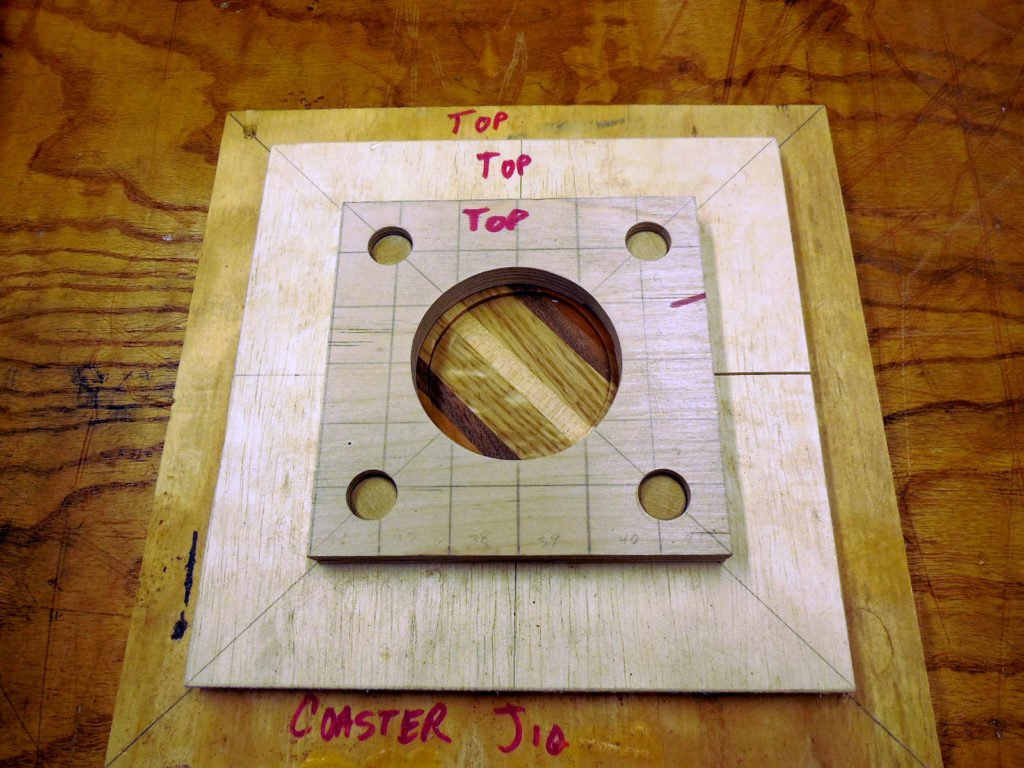
I made a jig to hold the coasters so I could route out the 3 inch circle recess. It took some time to make, but it saves for every one I make. I made 88, and it went pretty fast with the jig. I used a plunge router for the recesses with a square bit. I used a roundover router bit for the edges on the router table. They were coated in poly for water protection. (88 took forever).
The holders were an afterthought, I used scrap wood and placed the dowels out so they would meet the sides. The template was really useful for that part. These were coated in Danish oil.
Clip Board
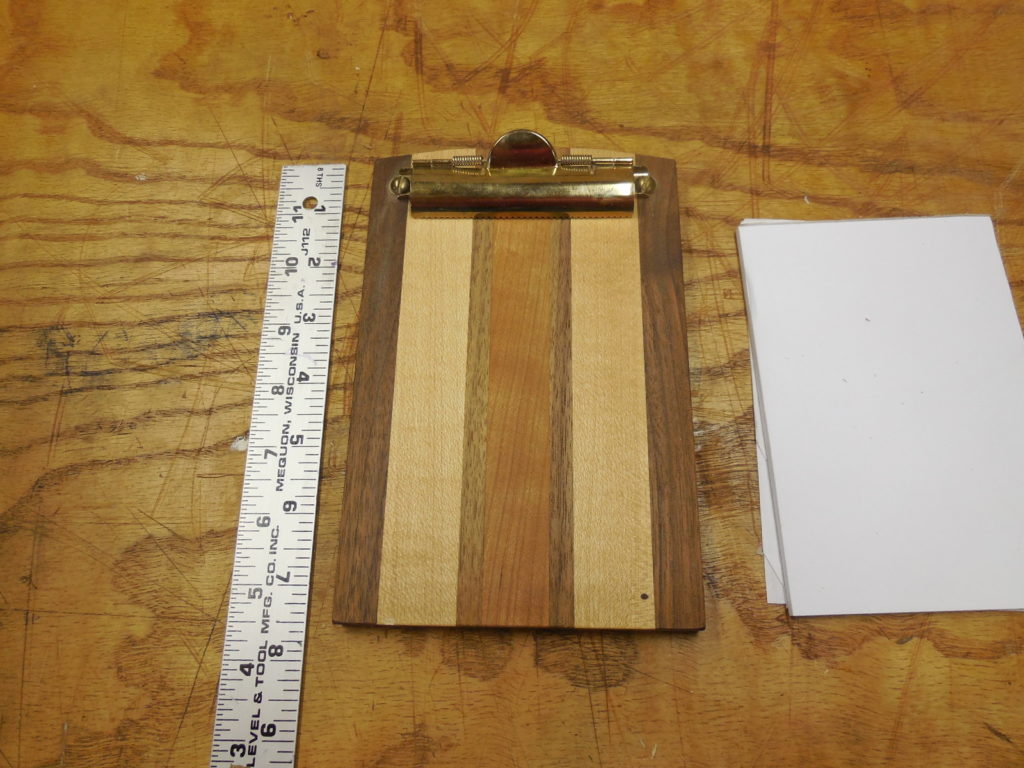
This was done as a big glue up, then resawed into 5 inch wide boards for the final striped look. The dimensions are 5 x 7 1/5 x ½. They are designed for a 4 x 6 notepad, or a quarter sheet of recycled printer paper. The clip is 4 3/8 in long. Mine came from MeiselWoodHobby.com, #BC170 currently at $2.99 each, (cheaper if you order more). They are also available at Rockler #75838 for $8.99.