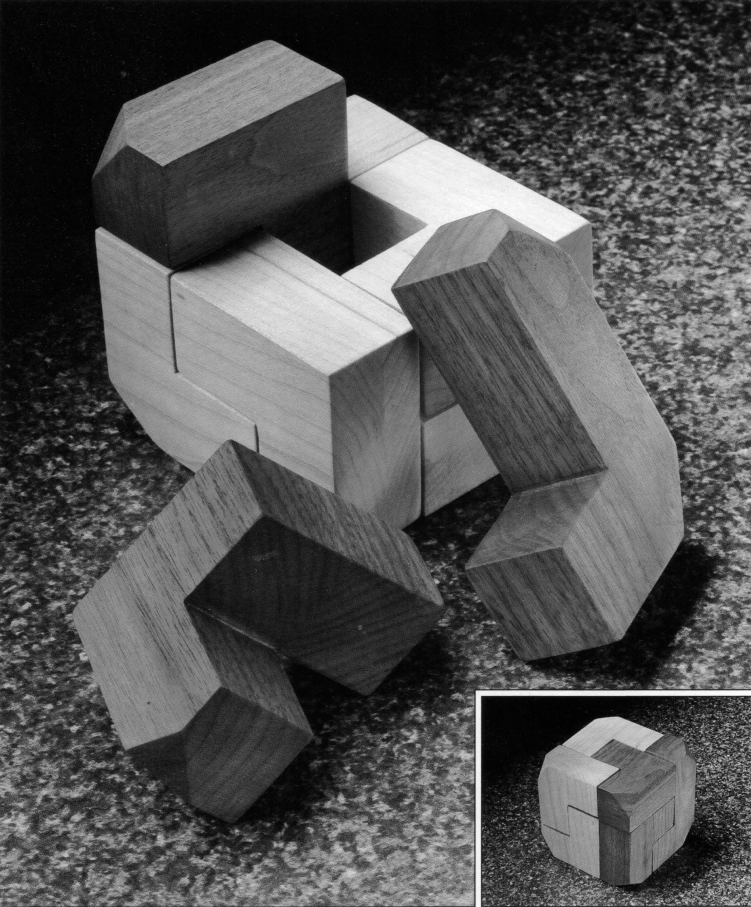
This toy pattern includes a multi-page PDF. Please be sure to download and print the attached toy pattern at the bottom of this page along with these instructions.
Tools
- Band Saw with 1/2″ blade
- Sanders – Disc or belt sanders
- Sand paper
Material
- 1-1/4″ walnut and maple lumber
Instructions
- To produce a quality puzzle, take care to measure carefully and cut out the parts accurately. The pieces must fit together snugly to form the interlocking shape.
- Layout parts 1 thru 8 as indicated on the plans.
- Cut parts on a bandsaw with a 1/2″ blade.
- Glue parts together where indicated on the plans. Clamp the parts together until the glue is set.
- Sand parts with power tools to get to the final dimensions and hand sand with a sanding block to achieve the desired smoothness. Break all sharp edges with 150 grit sandpaper, but do not round over edges.
- Tape the puzzle parts together and sand off a 1/2″ triangle at each corner with a belt or disc sander. Finish these triangles with a sanding block to the same smoothness as the primary surfaces.
- Un-tape the pieces and vacuum the parts and wipe with mineral spirits.
- Finish with polyurethane per the instructions on the plans.
- Provide a copy of the puzzle solution with each puzzle.