Tools
- Band Saw or Scroll saw
- Sanders – Rotary & Band
- Sand paper or emery boards
Material
- 3/8″ Solid Wood or Plywood
- 3/4″ Solid Wood or Plywood
- Wood Filler
Instructions
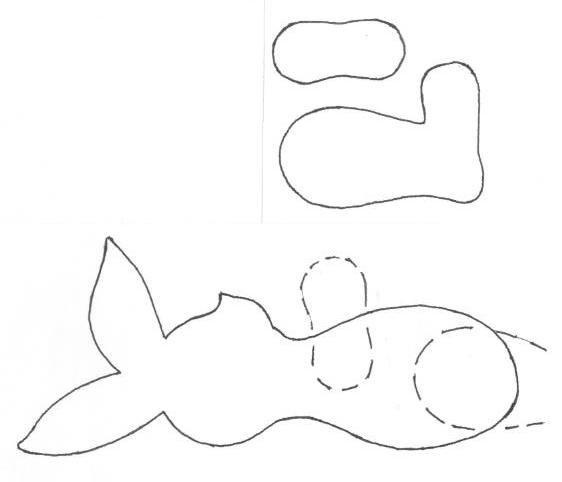
- Make patterns from print of rabbit by gluing to a piece of cardboard.
- Cut patterns to shape.
- Draw shape on wood surface.
- Saw body from ¾” thick solid wood or plywood.
- Fill any voids with filler.
- Saw 2 x legs and 2 x arms from 3/8″ wood or plywood.
- Sand cut surfaces with a rotary sander to smooth and sand edges to remove roughness.
- Rub your hands over the entire vehicle to make sure there are not sharp edges or points. Remove with sandpaper if any are found.
Download pattern: https://slwg.org/wp-content/uploads/2019/06/Standing-Rabbit.jpg
